|
|
||||||||||
 |
||||||||||
|
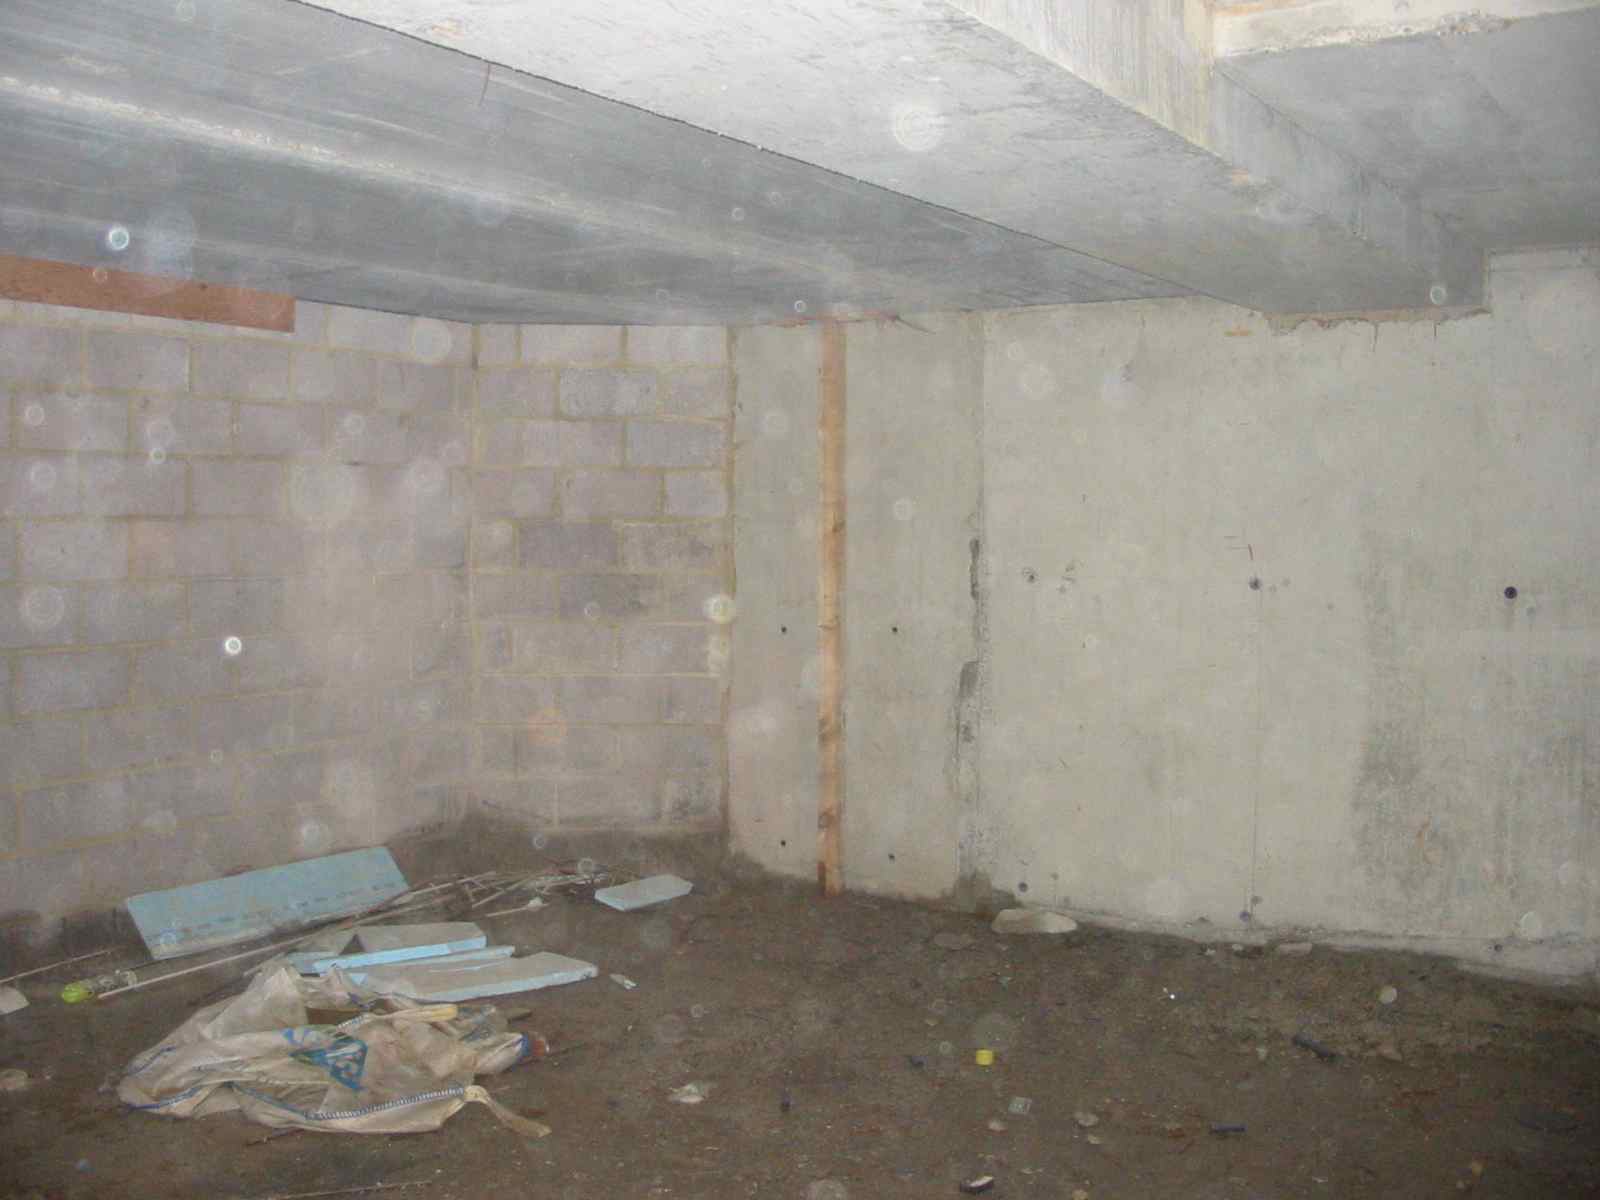
At long last we have started the editting studio project in the basement of Westbourne Grove Church, as the 2kHz studio is moving from Scrubbs Lane, so Paul and Richard need a place to do their editting. The studio can also provide capacity for the church’s musicians to record, or a place for loud practice away from other rooms. The room itself has limited use for recording as it is about 6 x 3 metres, but there is cabling to pass signals from the Ethersound network in the main hall, so that or any other room in the church could be used as a live room sending signals from the 32 Ethersound stage channels, or from the DM1000 mixer’s 16 analogue inputs. The first job is to build a wall to separate the edit studio from the noise and dust of the pottery / woodwork next door. The outer walls, ceiling and floor of the room are cast concrete, so the room is already quite isolated from general external noise. To match the degree of mass isolation already in the walls we decided to start by building an 8 inch concrete wall. We can then decide whether an isolated inner leaf is required afterwards. Since the room is already narrow, it would be nice to avoid it if possible. Since users on both sides of the wall are part of the same community its not necessary to achieve high levels of isolation, the goal is that quiet activities on each side of the wall will not be so intrusive as to distract the work of the person on the other side. Noisier activities can be scheduled for when the other side is unused. (Helped anyway by musicians’ nocturnal habits). The ceiling goes up and down with various beams, so Ben the builder had trouble filling in the blockwork at the top of the wall. Room before the wall was started: |
 |
|
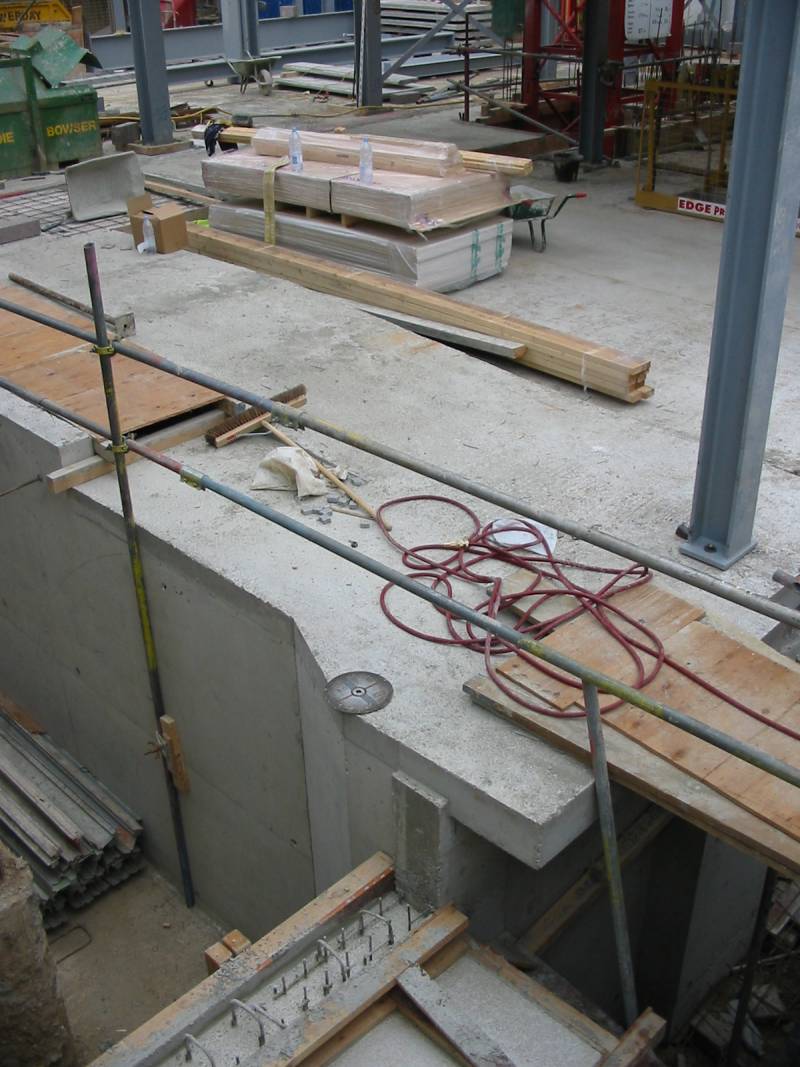
Theres lots of ups and downs to the ceiling as well as a ramped area and an acute angle in one corner ! because of all the other things going on in the structure around and above, to squeeze the most out of the church’s inner city footprint in a high property value area. This shows a little of whats going on, the studio is in the corner of the basement right under the ramped piece of slab at the front of the photo: |
 |
|
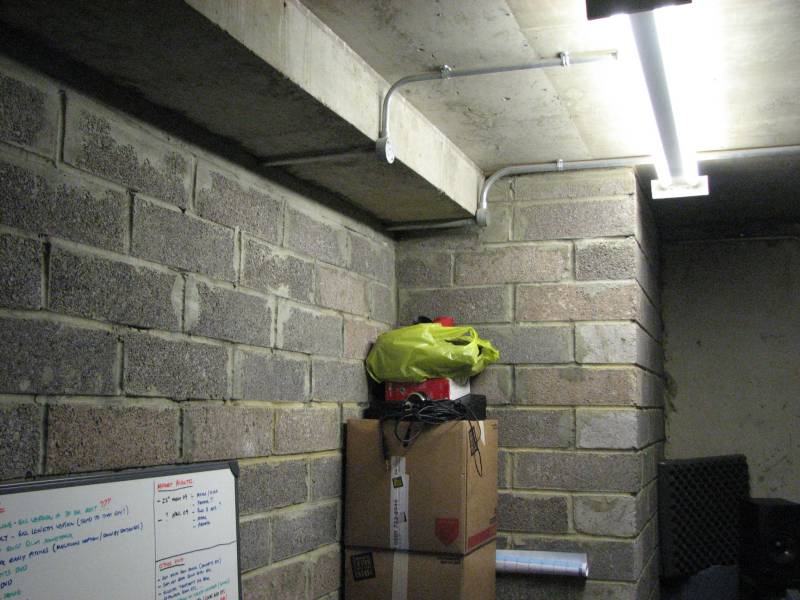
The builder didnt want to spend all day cutting strips off concrete blocks to pack out the top of the wall so most of the length along the top section above the last full depth block is “skinned” on both sides with a strip of concrete. |
 |
|
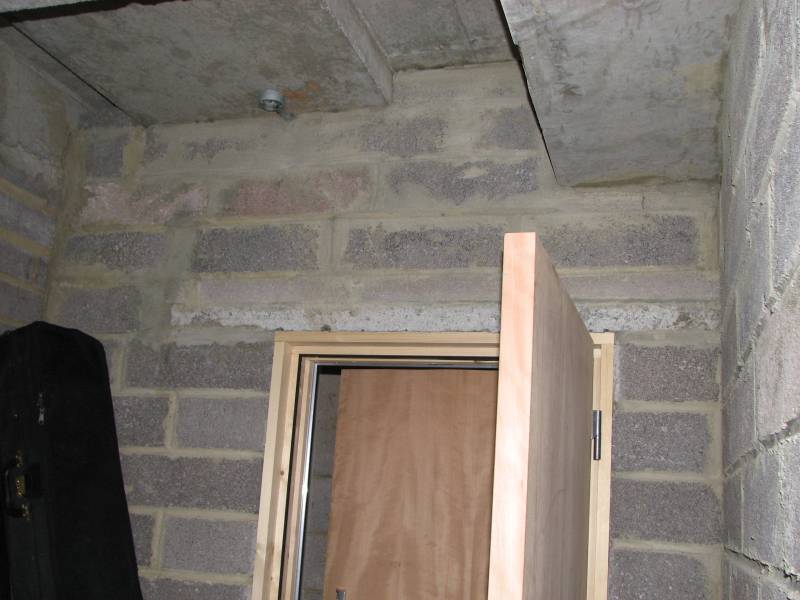
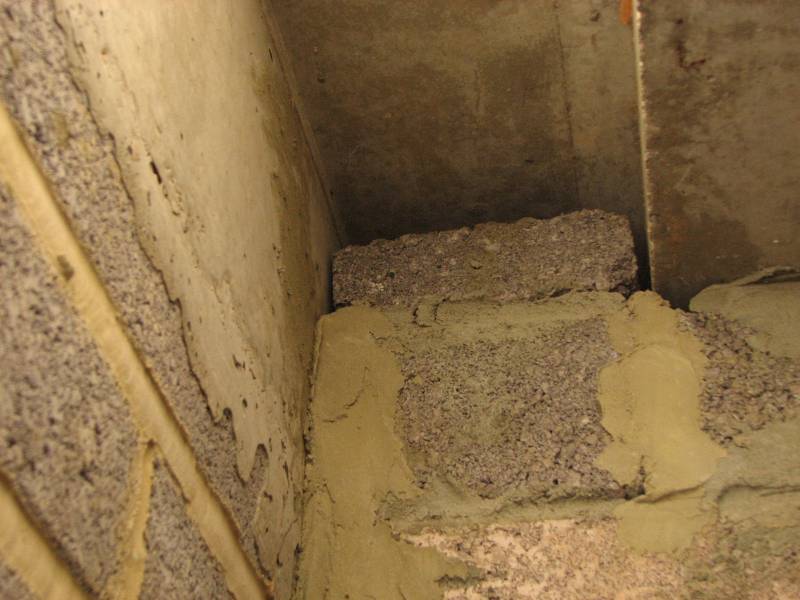
We need to find out if this degrades the capacity of the wall to attenuate the sound signficantly. If it does, then perhaps we need to fill the void (foam ? sand ? fire mortar ?) or take one side of the skinning off and repack the wall. At both ends of the wall things get worse because the builder could only get at one side of the wall. This happens in the top left above the door see below. Theres a stud wall carrying the basement doorframe on the other side of that top left corner. Paul’s DIY double door uses solid fire doors and all round rubber contact strips and sounds like its doing a good job. |
 |
 |
|
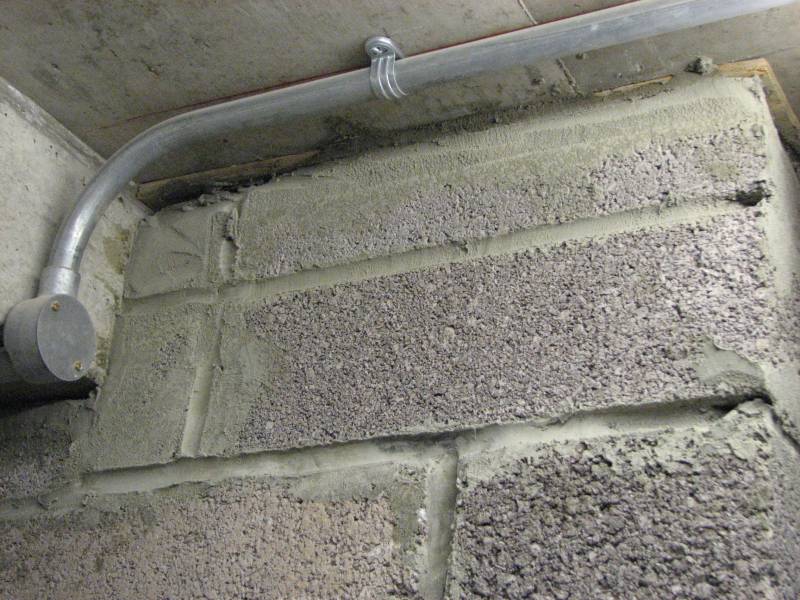
I think that last block was a Friday afternoon one ! A bigger area problem occurs at the other end of the wall where the wall leaves the central beam and takes a detour around the ventilation ducting coming down from above: |
 |
|
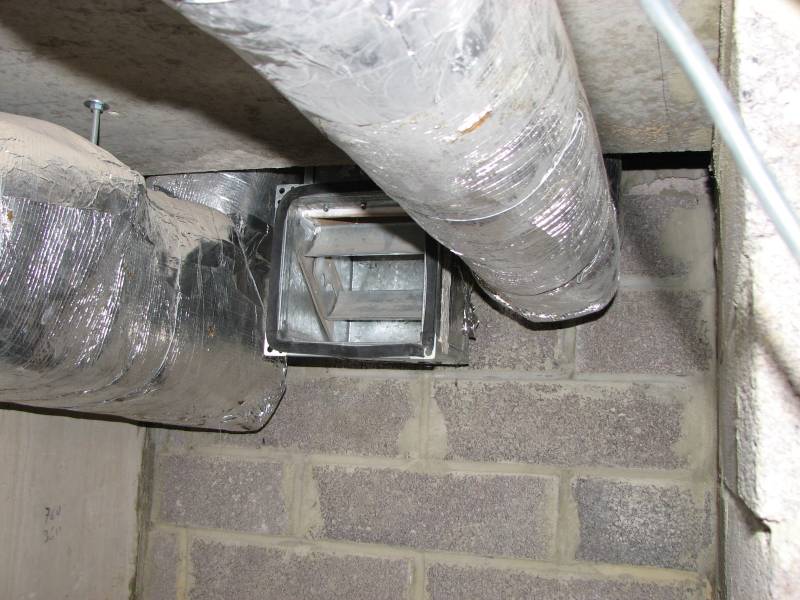
The builder could only fill in this section from the side the photo was taken so there are places the mortar doesnt reach the plywood board, which is the “floor” of the ventilation duct riser backfill. So at the moment there are small holes and cracks letting sound through. On the other side it looks like this: |
 |
|
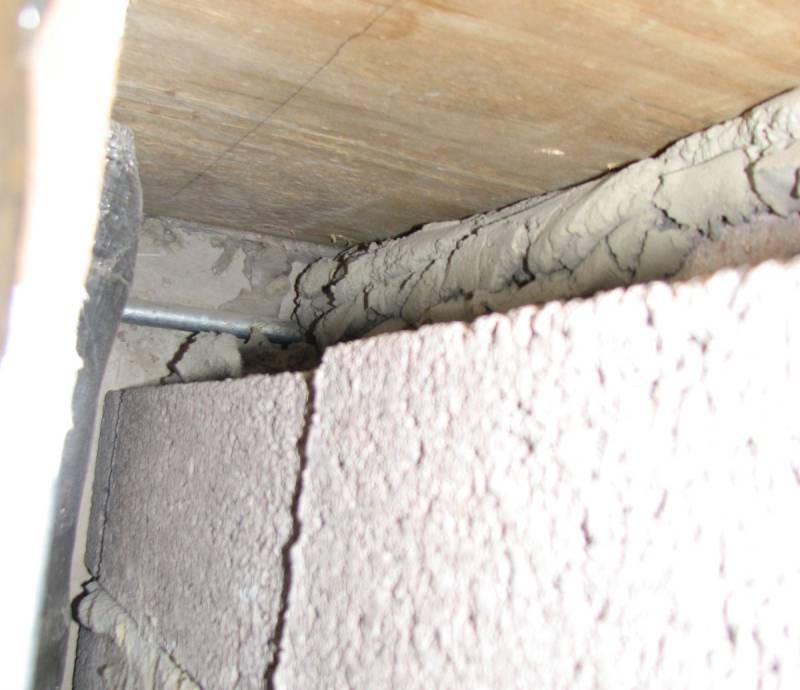
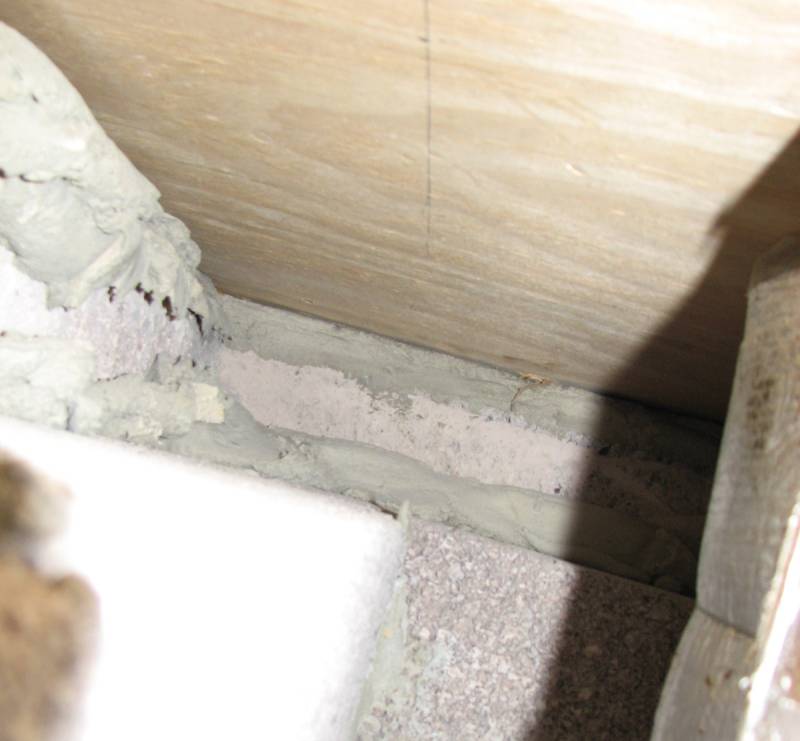
There is a 4 inch gap between the top of the wall and the bottom of the plywood board. This is only filled on the studio side with a “skin” of concrete block strip an inch thick with morter filling the top inch. These are photos looking along the top of the wall in each direction, behind the ventilation ducts. |
 |
 |
|
Access is difficult so the easiest thing to do would be to get a board across the open face of the void above the wall, and fill it with (foam ? sand ? fire mortar ?). An alternative is to close the main beam in the ceiling across to the wall with a board and fill in the entire higher area of ceiling around the ducts with (foam ? sand ? fire mortar ?). If necessary we could take off the infill “skin” in this section and solid fill the top of the wall. Another detail we need to check is the electrical conduit tubes which pass across the top of the wall in 4 places. |
|
[Home] [redkite] [Snow in Feb 09] [Studio Project] [Initial Tests] |